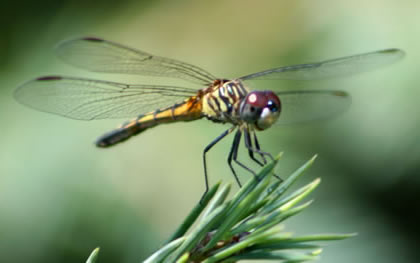
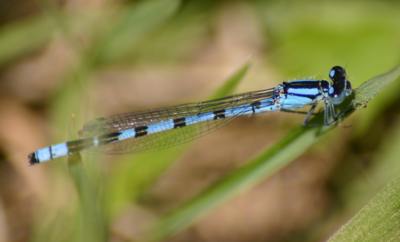
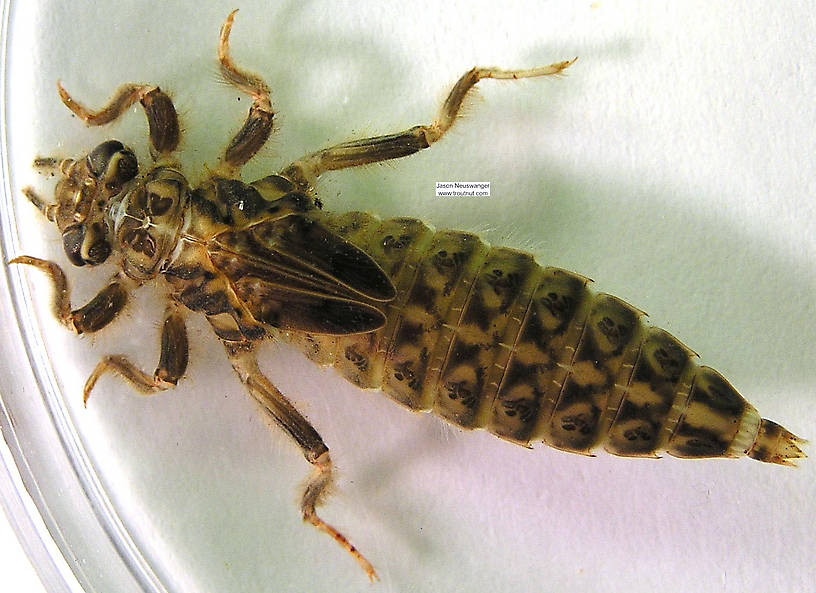
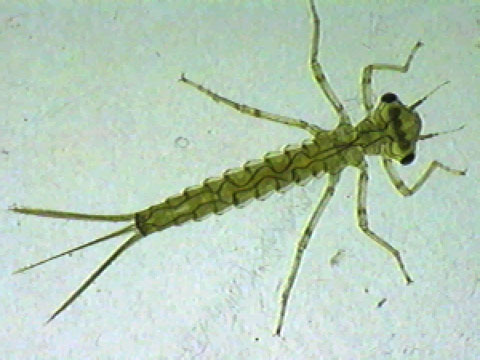
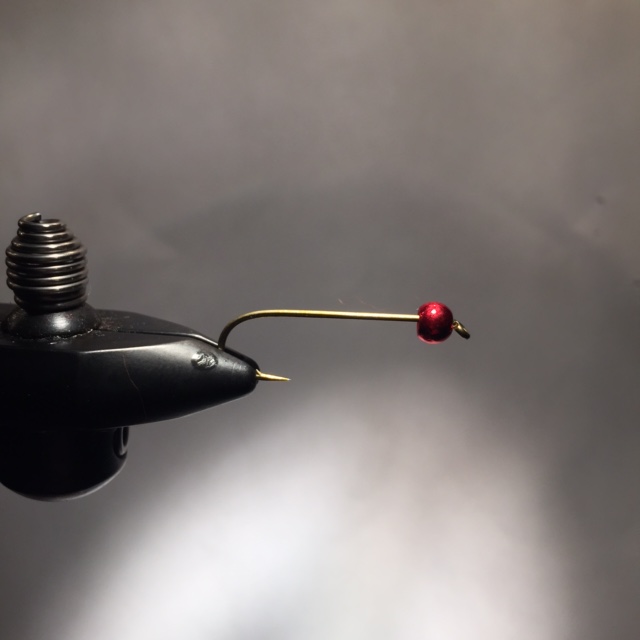
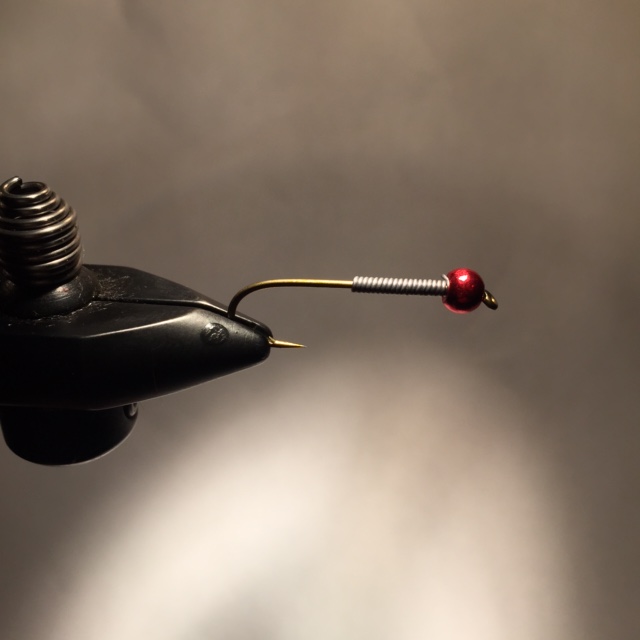
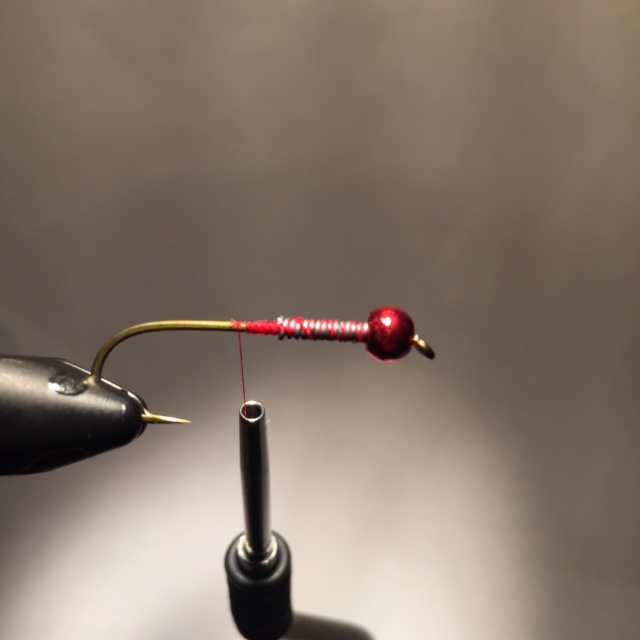
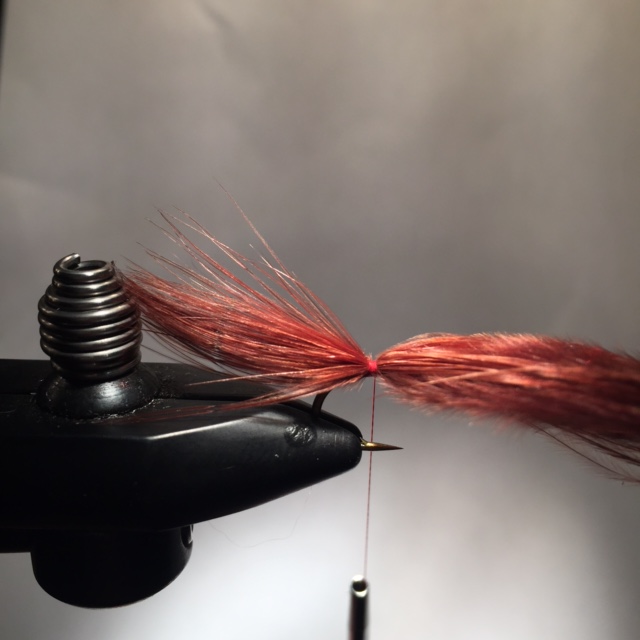
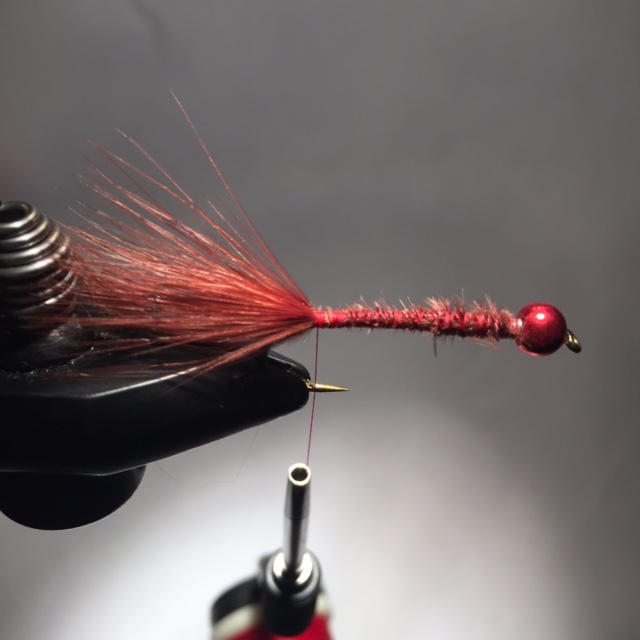
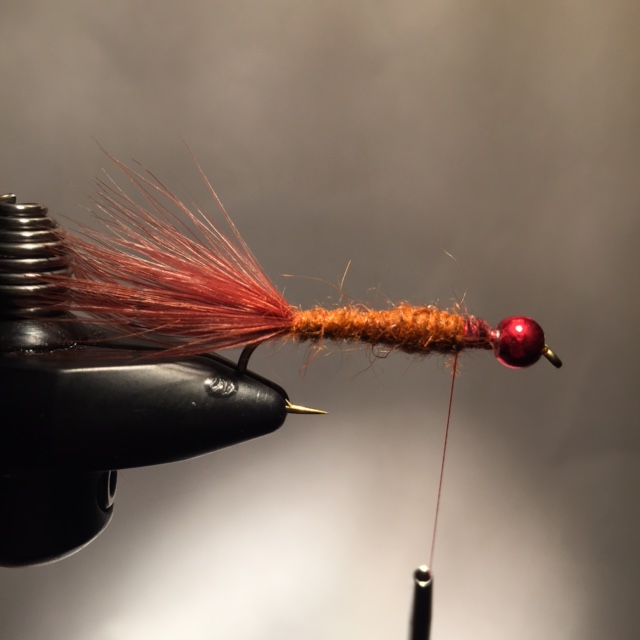
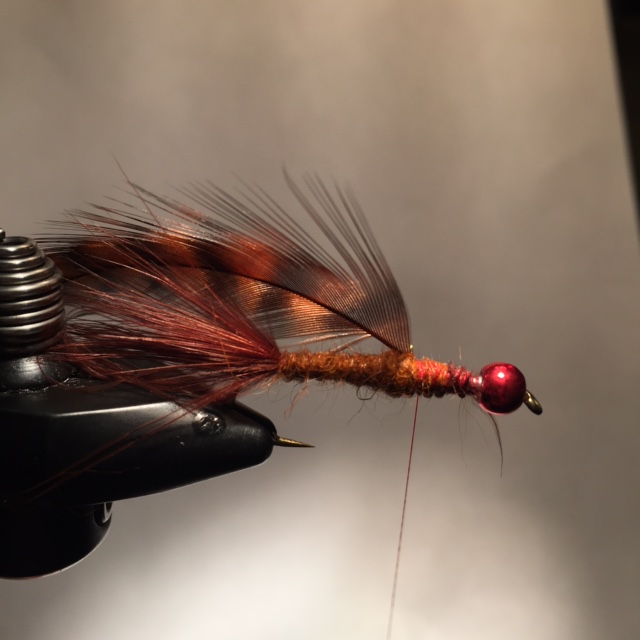
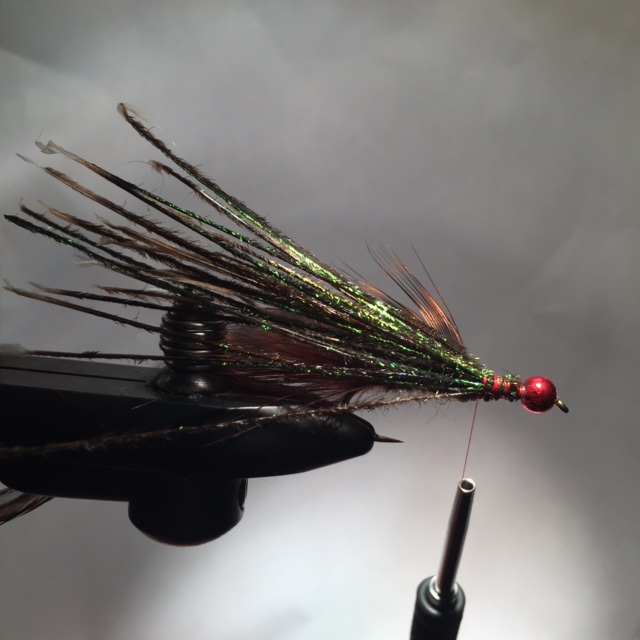
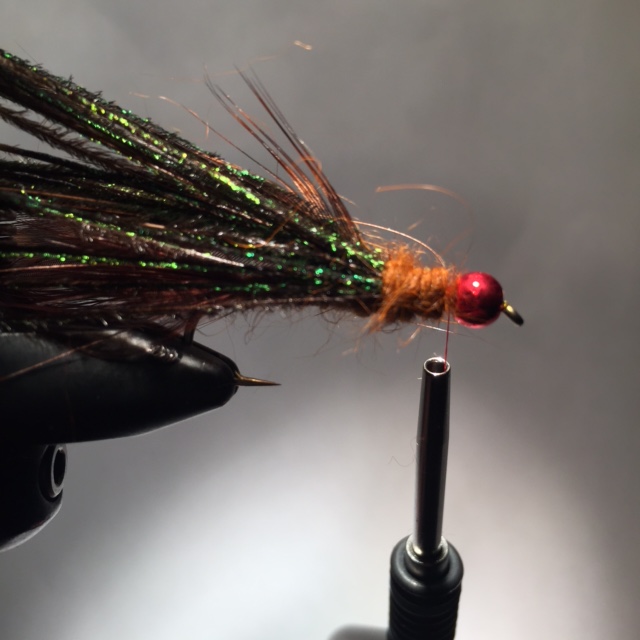
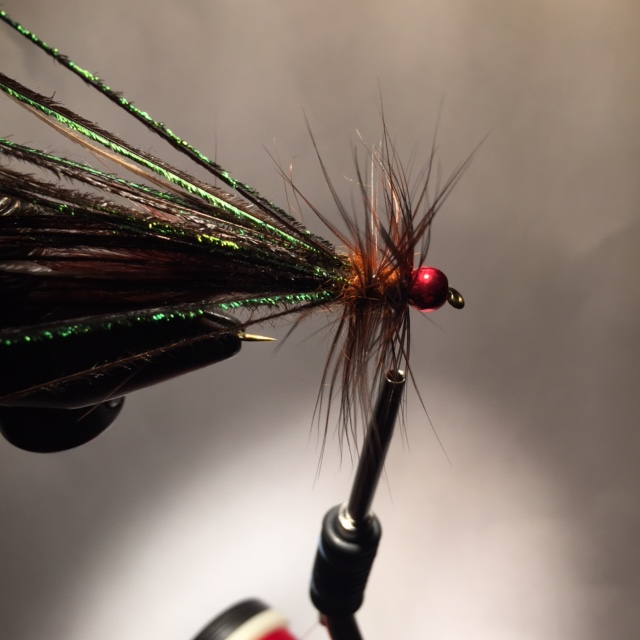
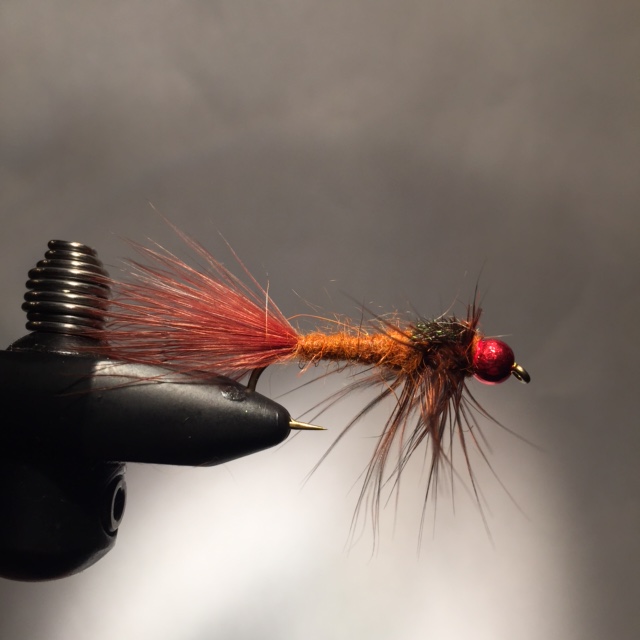
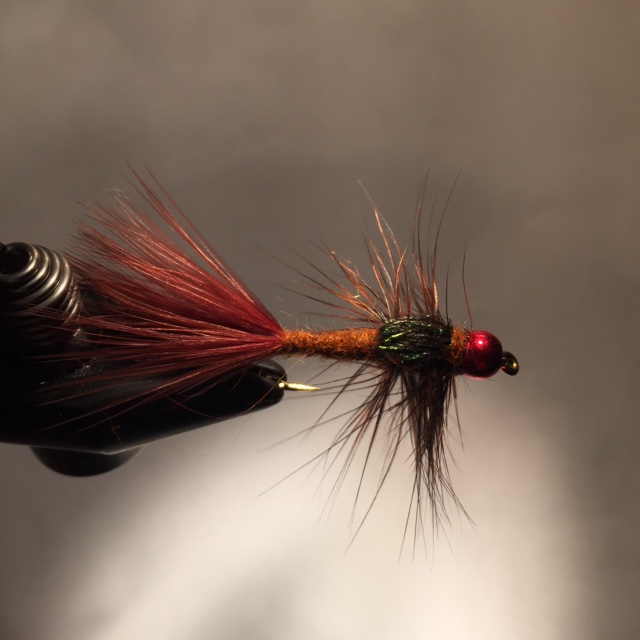
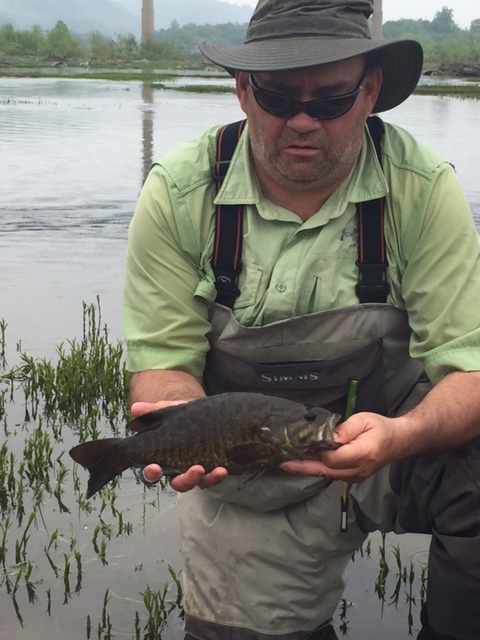
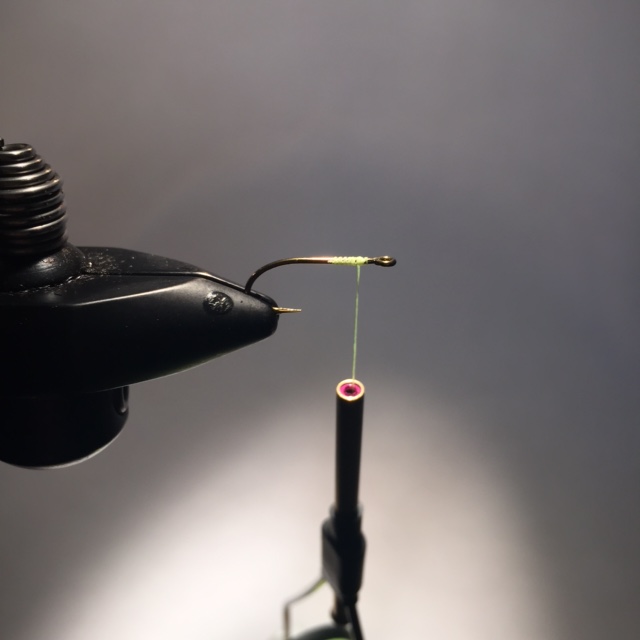
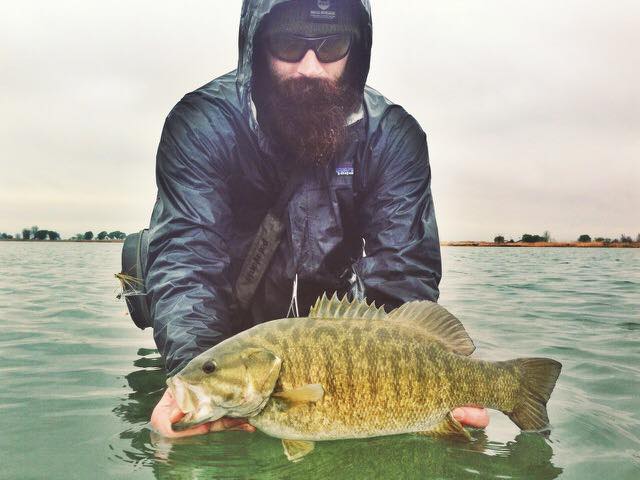
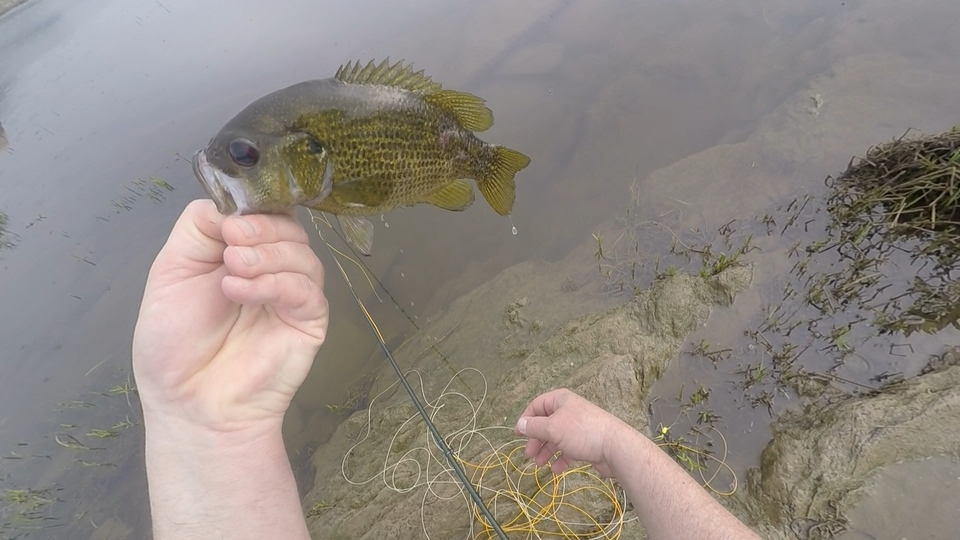
 Timing and weather just have not been kind to me these past few weeks. It has been a while since I have been on the water. It seems when the weather is fit to fish I am tied up with one of my other responsibilities, by the contrary, when I have free time and I want to fish lately it seems that a new storm is moving in or the rivers are still blown out from a past downpour. Now, it is not that I am against fishing in the rain, (that is a great Hank Williams Jr. song lyric BTW) I will do it if absolutely necessary. I am very fortunate to fish many days each year and my thoughts are if the weather is nasty I just as well stay in and do other things, like tying flies. I have spent a fair amount of time at the bench the past few weeks getting my Smallmouth boxes ready for the season. I have been fishing for Smallies off and on for about a month now, but the season is getting ready to jump off at a fever pitch within these next two weeks. All of you crazy Smallmouth addicts, like me, had better be ready! The fly I am going to share with you today is in my top five all time fav's for Smallies. I have been fishing this pattern for years, during all times in the season and have had great success. A lot of the people I take Smallmouth fishing for their first time catch their first Bronze Back on this fly. It has also accounted my second and fifth largest Smallie ever, it is that good! One of the regular readers of this Blog has scaled down the pattern to a size 8 and regularly bangs big Trout with it. Originally designed as a Damsel or Dragon Fly Nymph, this pattern is easy to tie and uses just a few, common tying materials. I added a little twist on this last batch using a Flymen Fishing Company Fly color bead in red. I think it goes nicely with the rest of the fly. Before we start to tie let's take a minute and look at the natural. Damsel and Dragon flies inhabit just about every body of water where Smallmouth (and Largemouth) Bass live. You don't have to have a 4.0 at Harvard to realize if the Bass live there... and the Nymphs live there...well, you get the picture. Many is the time when I have seen a good size river Bass go totally airborne to grab a Dragon or Damsel out of the air. Just like in Trout fishing the bugs we see in the air usually start their life in the river bed. They are readily available to the fish as a food source and the fish become quite accustomed to feeding on them. The adult Dragon is a prehistoric looking bug with large wings, a huge thorax and typically big bulging eyes. They are quite noisy in flight and, although basically harmless, can be quite intimidating when they get close to your face. The Adult Damsel is a really cool looking bug that you will see in a variety of neon type colors. I seem to see the blue version the most, but green, red and a clear bug can also be found. As different as the adults look the nymphs are quite similar. The Damsel has a thinner thorax and abdomen, but I do believe 1 pattern represents both naturals equally well. The naturals can range in color from dark, chocolate brown to a medium olive. The rusty brown version shown here has done will for me, and it is the only color I tie anymore. Now that we have covered a bit about the naturals let's duplicate what we have learned at the vise. The Clouser Swimming Nymph Hook ; TMC 5262 size 6 Thread ; 6/0 flat waxed, color to match body Bead ; Nymph Head Fly Color Bead 3/16 red Under Body ; 20 wraps of .020 LEAD wire Tail ; Burnt Orange Marabou Abdomen ; Rusty Brown Nymph Dubbing Thorax ; Rusty Brown Nymph Dubbing Legs ; Whiting Bugger Hackle Wing Case ; Peacock Hurl Slide the bead on and place the hook in the vise. Put 20 wraps of .020 dia lead wire. I know some will say OMG! he is using real lead wire!!!! The lead subsitute wire does not have enough mass weight to sink the fly. You are actually doing yourself more harm than good. By wrapping lead substitute wire. You are adding bulk or surface area with out much mass weight. More surface area means a higher drag coefficient while the fly is in the water. Higher drag without the mass weight to counteract it... your fly could actually float HIGHER with lead substitute wire than if you used nothing at all. Technical jargon for a fly tying post I know, but facts are facts...use lead wire! Push the lead wraps up under the bead and build a thread dam at the back of the wire wraps to keep it there. Cover the lead with thread to bind it to the hook shank. This would be a good time for some Zap-A-Gap. Tie in one Burnt Orange Marabou Blood Quill the length of the hook shank. Don't cut the butt section of the feather, we will use that in the next step. Once your tail is tied in spiral wrap up the hook shank using the butt section of the Marabou feather to add some bulk to the under body of the fly. Dub a nice, tapered abdomen with your favorite nymph dubbing. Tie in your "legs" by the stem of the feather. This is Whiting Bugger Hackle. You can substitute Strung Saddle, Schlappen, or on smaller sizes Hen or Partridge feathers. Tie in several pieces of Peacock Hurl for the wing case. This is my favorite part of the pattern. When the Peacock Hurl gets wet the colors are awesome! Dub the thorax with the same dubbing you used for the abdomen. Palmer the hackle forward to the back of the bead. 3 to five wraps, depending on the size you are tying will work nicely. I usually trim the top fibers from the palmered feather off, then fold the wing case over the top. Tie down the wing case and clip off the excess. Lately, I have been putting a little collar of dubbing at the junction of the thorax and the bead. I don't think this has anything to do with how the fly fishes, it does however, give it a nice, finished off look. As mentioned, this fly is a go-to in my Smallmouth arsenal. Tie up half a dozen and see for yourself. Soon it will be a staple in your Smallie boxes as well. Till next time...
Tight Lines
2 Comments
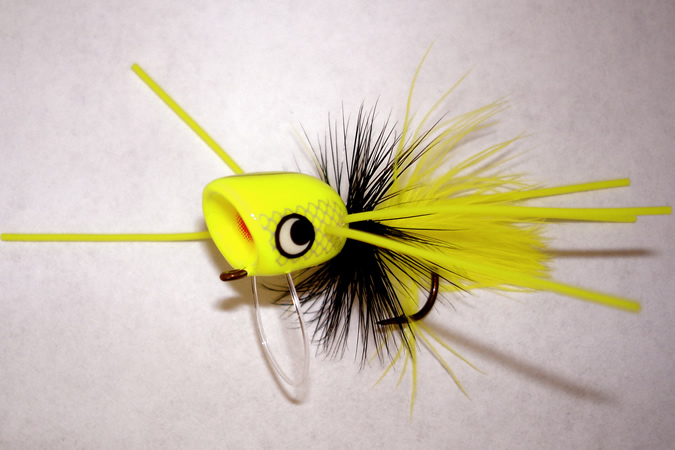
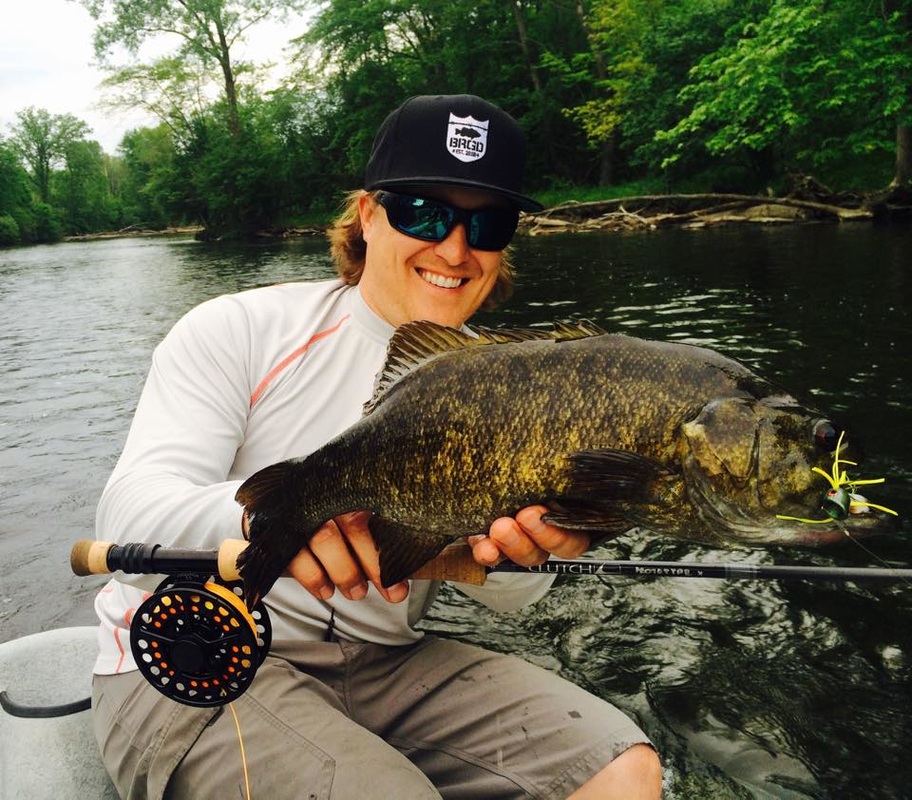
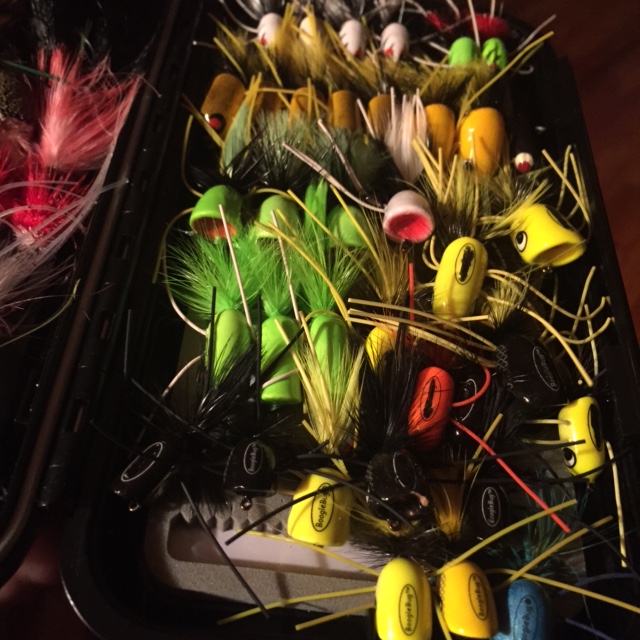
 At some point during this three day excursion I remember saying that to "One Boot" Ed, and it is 100% true. Smallmouth are arguably my favorite fish to chase with fly gear. Smallies are tailor made for those of us that prefer to cast the long rod. They will eat a multitude of fly imitations with vigor, they live in some wonderfully beautiful areas, and they are one of the coolest looking fish that swims. I have said many times, and stand by the statement that pound for pound, no true, freshwater fish pulls as hard as a Smallmouth. Those of you that have done battle with a trophy class fish on a fly rod know exactly what I am talking about. One of the most exciting ways to fish for Bronzebacks is with a top water popper. The sight and sound of the popper as it is being retrieved can be hypnotic, almost mesmerizing... pop, pop, pause...pop, pop, pop, pause... pop, pop...CRASH!!!!! Few things in the world of fresh water fishing will jolt you out of your trance like the take of a good Smallmouth as they inhale your popping bug. The popping bugs of choice for "Irish Flies" are the Boogle Bug. My good buddy Ben, from North Carolina turned me on to these in July of 2013 and Ed and I have been fishing them ever since. If you are into top water fly fishing check em out at www.booglebug.com This video was shot over 3 consecutive days of early season Smallmouth fishing. The weather conditions were VERY different each day; day one was warm, but rainy. Day 2 was extremely cold (for the time of year) but sunny and day 3 was the best weather wise, but the un-stable weather from the previous 2 days gave the fish a severe case of lockjaw. All fish on the video were caught using the Boogle Bug's of various colors. I do believe yellow has become my favorite! For as early as this was I think we did ok, with Ed landing the best fish of the three days with this beautiful, dark sided, girl. Check out "Smallmouth Bass vs Boogle Bug poppers" here. I hope you enjoy, and as always, comments are welcome. Till next time...
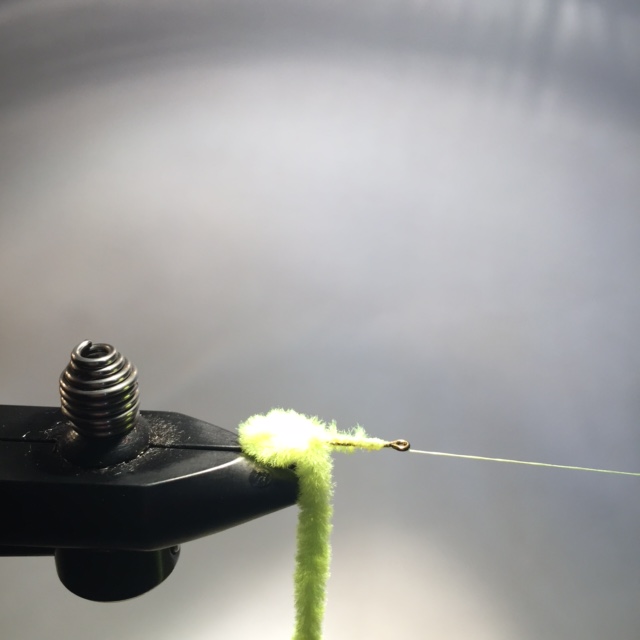
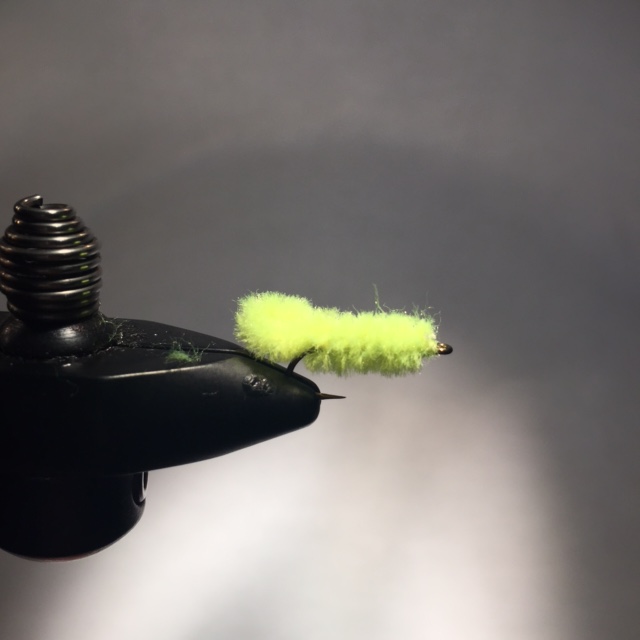
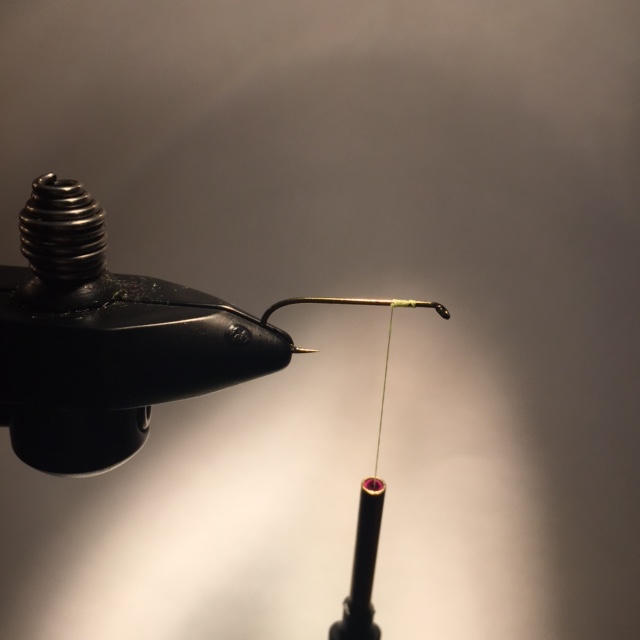
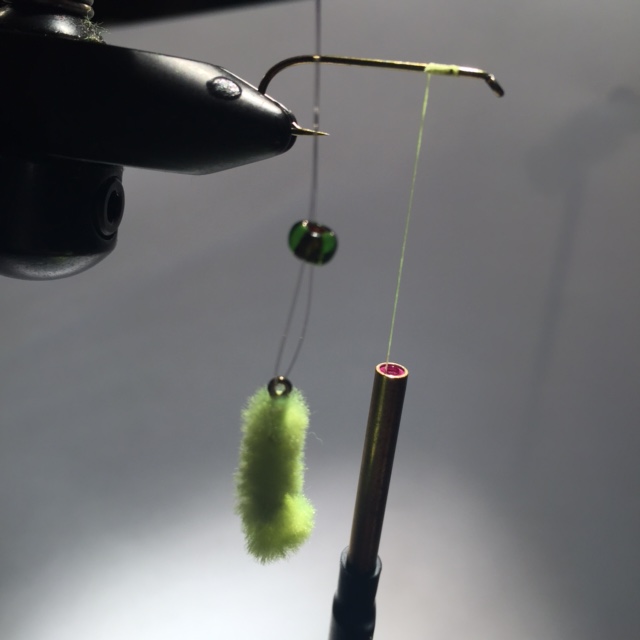
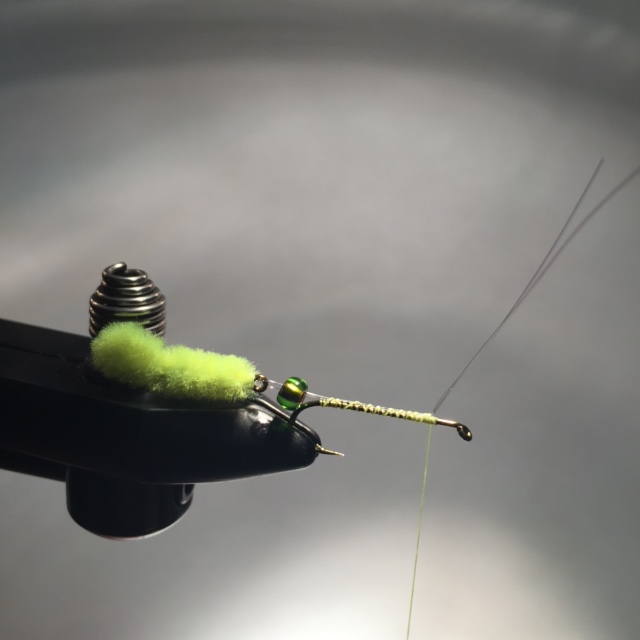
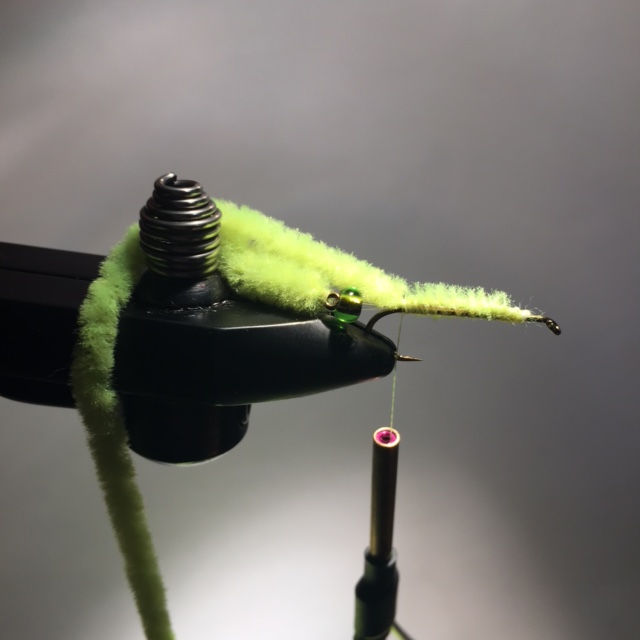
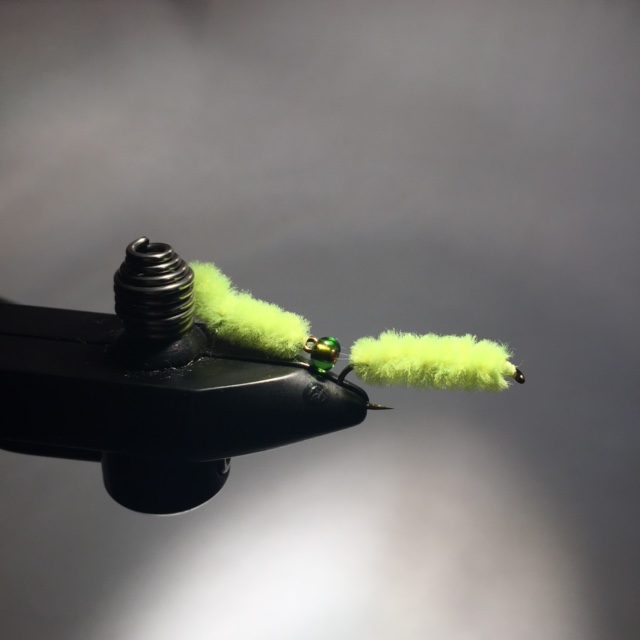
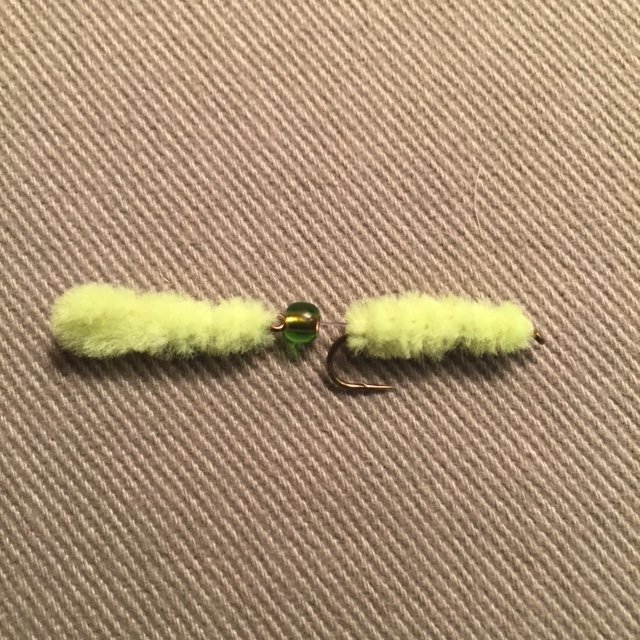
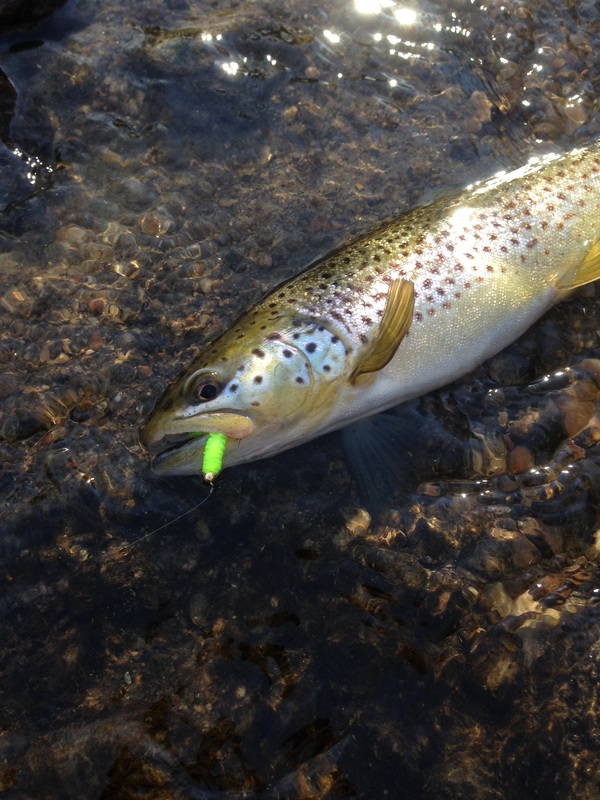
Tight lines  Well, it has been a while since I have done a step-by-step. This is one of my newer patterns that has been getting some play on the internet lately. This fly was requested on my last 2 custom fly orders, so I figured it would be a good choice for this weeks blog post. The "Fractured Weenie" came to me one day as I was prepping for an event while I was still working at the fly shop. The theme was articulated flies and I was working my way through some patterns. Here is my account of the birth of the "Fractured Weenie" as I recount it on my signature fly page. I was in the shop one day having a discussion with one of the "regulars". Specifically, we were talking about the articulated flies and which patterns I would be tying for an up coming event we were having. At some point during the conversation I said something to the effect that you can basically articulated almost any fly. A little later one of our good friends, Craig came in with his son Matty. I got to thinking about my earlier statement about articulating any fly, I was already tying Green Weenies for the shop so I called Matty over to the vise. With his help (Matty rotated the vise as I fed the chenille up the hook) I tied the very first (that I know of) articulated Green Weenie. Tied completely as a joke at first, the more I looked at it the more I got to thinking this thing might actually work! The Fractured Weenie has proven itself on the Trout river as well as on Hickory shad. The more I think about the more I realize this "joke" fly actually has some merit and can be an extremely effective pattern. Basically resembling the paddle tail grub we all have caught fish on during our tackle days, the "Fractured Weenie" can be tied in a wide range of sizes and colors. At home in fresh water as well as in the salt, this fly has proven itself every time I have used it. Check it out and tie up a few for yourself, you will soon realize the "joke" is on the fish, not you! Thread ; 6/0 UNI Thread, color to match body Rear Hook ; any cheap hook with a straight eye (you are going to cut the hook off anyway) Front Hook ; TMC 5262 size to match (if you are going into the salt use a TMC 811s) Body ; Medium Chenille, color of choice (if tying for the salt use large or X large) Bead ; 6/0 glass color to match body (if tying for salt water use an appropriate size bead) Connection Wire ; 4X tippet matl (if tying for salt water use 19 strand Beadalon) Place the "sacrificial" hook in the vise and jam your thread on behind the eye. Tie the chenille in at the eye and wrap back the the barb of the hook. I tie in at the eye and wrap back to add a little bulk into the pattern. Double over the chenille to form a small loop coming off the back of the hook, this gives the fly the paddle tail action. Lay down a bed of Flex Cement and palmer the chenille up the hook shank to the eye of the hook. Tie off, build a neat head, whip finish and cut your thread. Carefully coat the thread wraps on the head with Head Cement. Place the front hook in the vise and jam the thread on at the hook eye and wrap back to the barb of the hook. Here you can see the "tail" of the fly has been prepped. The hook point has been cut off, a snort piece of the 4X tippet matl. has been threaded through the hook eye and the bead has been placed on the connection. This picture shows proper placement of the "tail" of the fly in relationship to the front hook. It must be far enough back so it can move freely, but not too far that the bead prevents the rear of the fly from fouling on the front. Once the spacing has been determined, wrap the thread up to the 3/4 point of the shank. Fold both sides of the connection back over themselves and wrap the thread back to the tie in point. At this point a dab of Zap-A-Gap is a good idea. After applying the glue make several series of thread wraps back to front, then front to back and totally cover up the connection with tight thread wraps. Finish with the thread at the hook eye, tie in the chenille and wrap back to the tie in point. Again, tying the chenille at the hook eye and wrapping back helps to build some bulk into the pattern. Lay down a bed of Flex Cement and palmer the chenille up the hook shank to the eye of the hook. Tie off, build a neat head, whip finish and cut your thread. Carefully coat the thread wraps on the head with Head Cement. On the front hook there is no need for the tail loop we put in the rear hook. Here is the finished fly. You can add a bead on the front if you like. Fish it like streamer, swing it, or dead drift it like a nymph. Presentations, like the fly, are limited only by your imagination. Till next time...
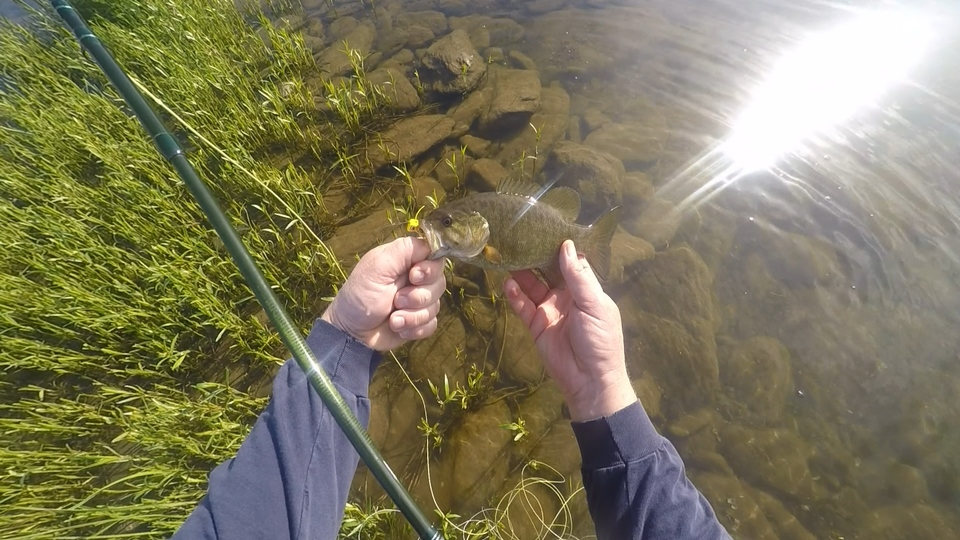
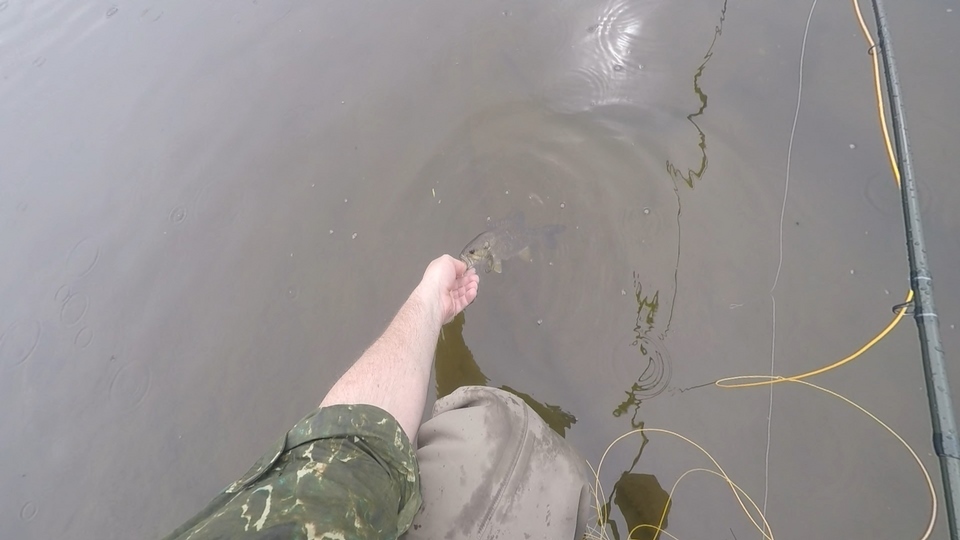
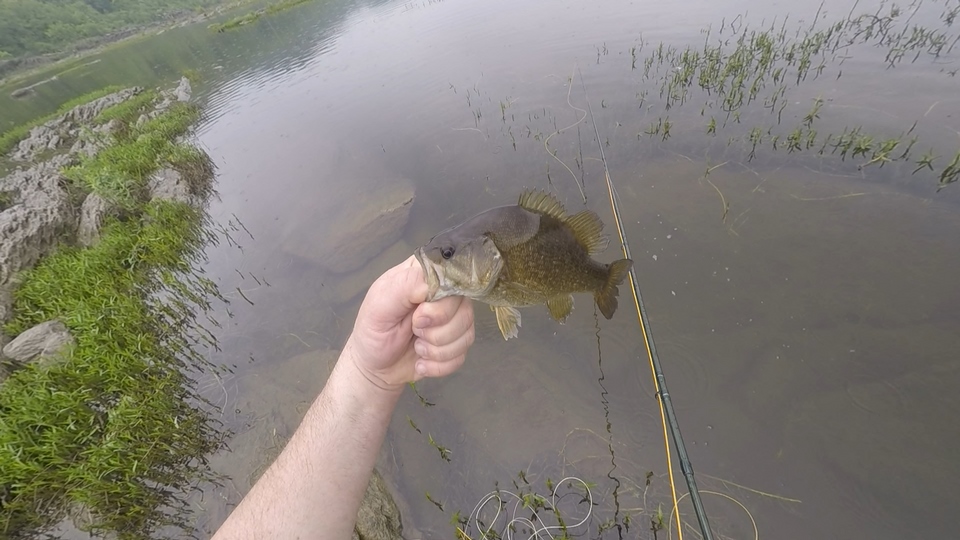
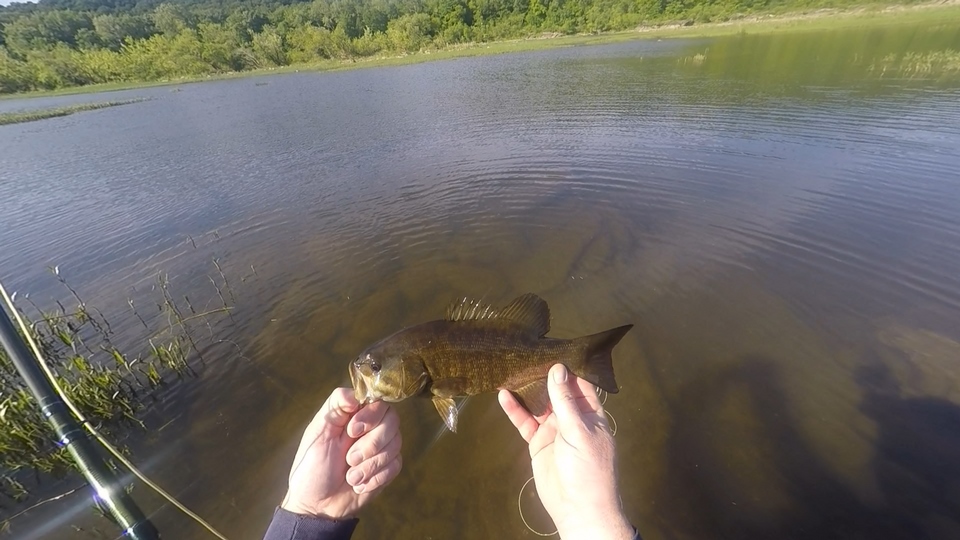
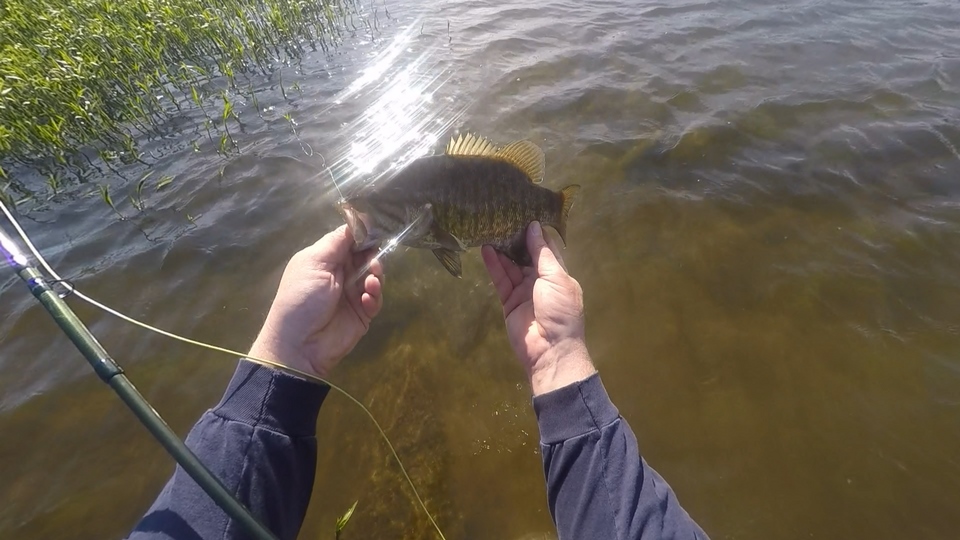
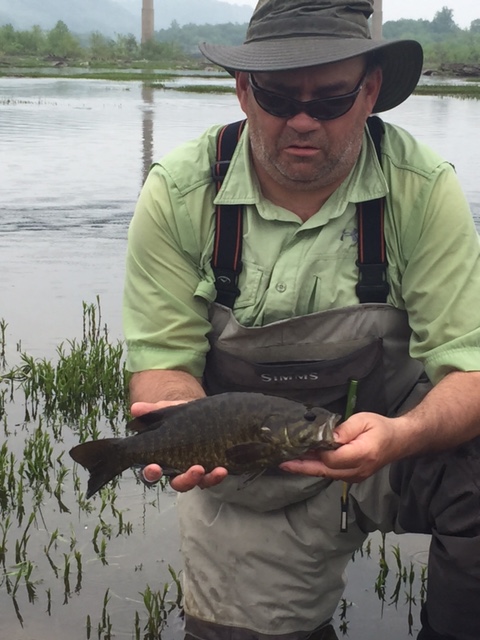
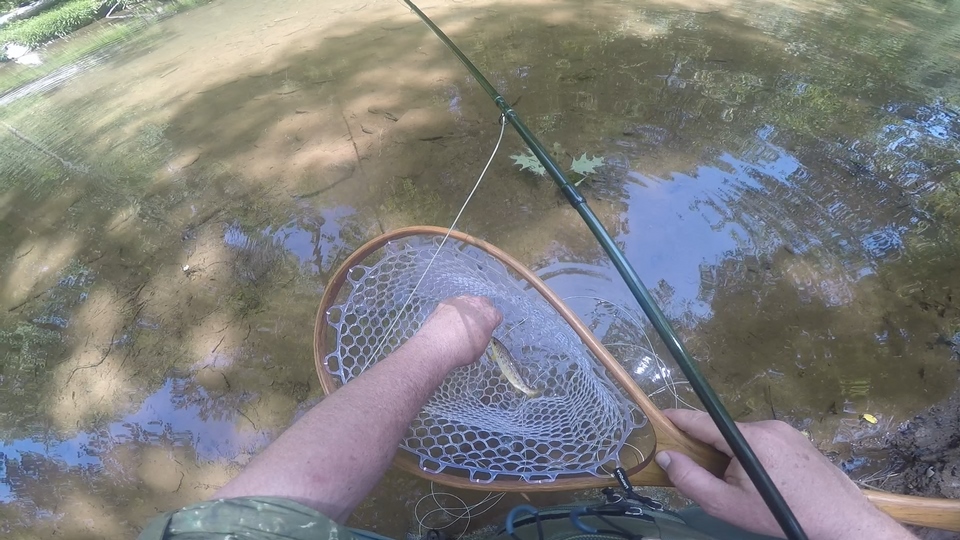
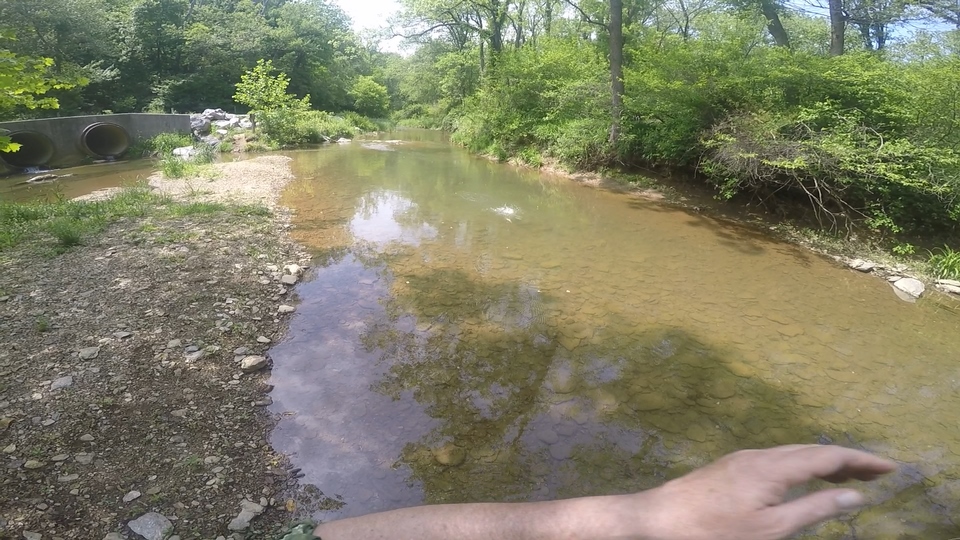
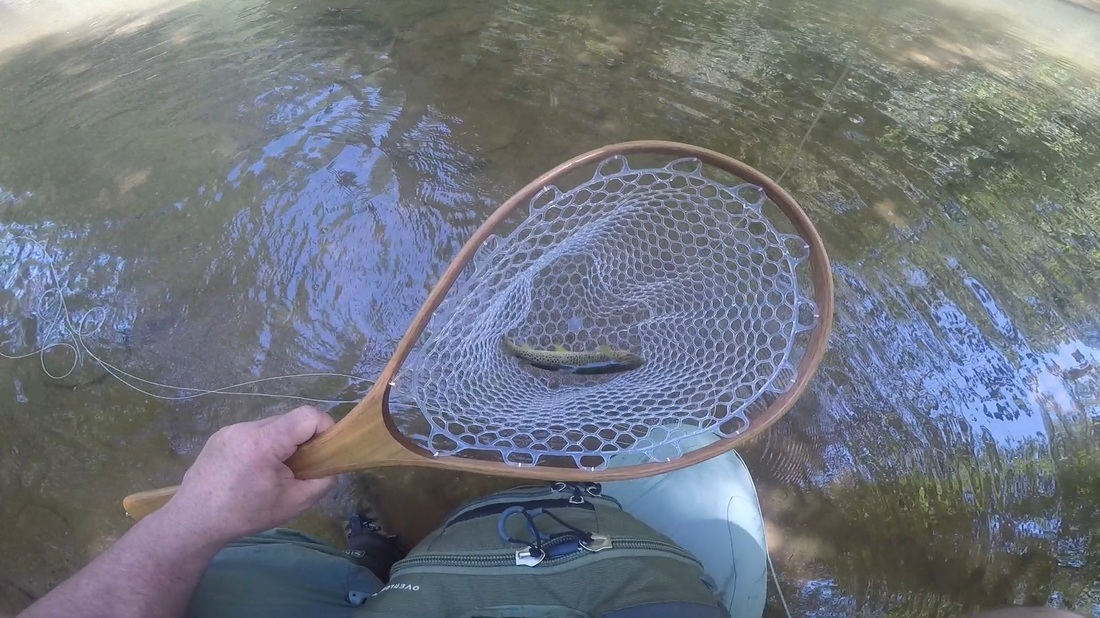
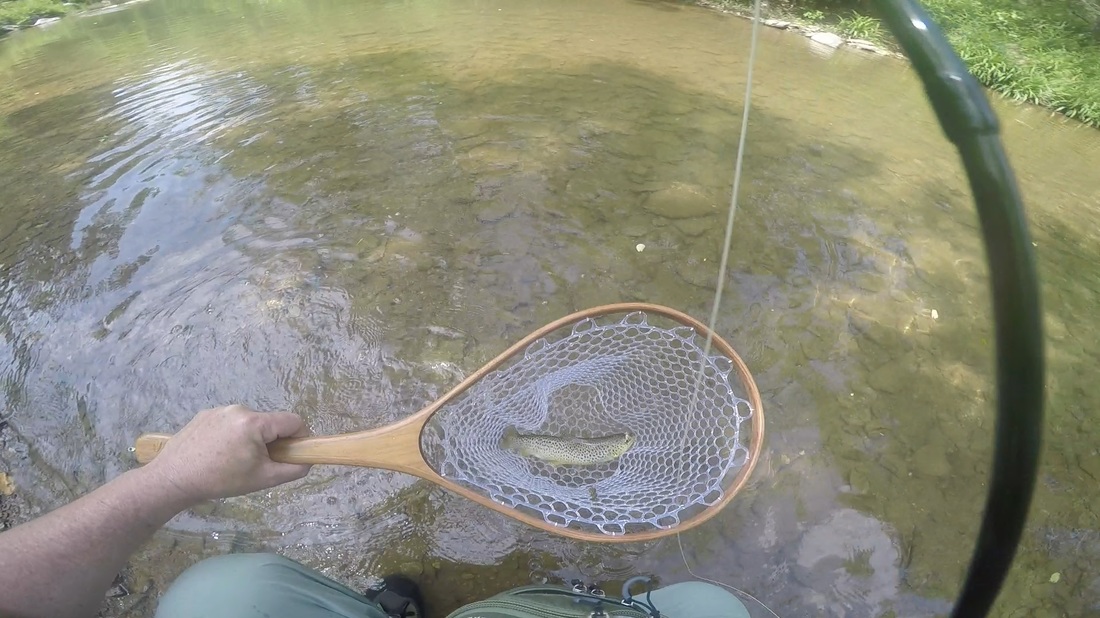
Tight lines  I am having so much fun with this new GoPro Hero camera. Downloading and editing video is as fun as the fishing itself...well almost. If you read my last blog post about "Double Dippin' on Trout and Smallies" you will want to check out this video. This clip shows the second part of the day when I moved from the Smallmouth river to a small wild Trout river to fish out the afternoon. It was a great day on both species and I will post the Smallmouth video in about a week. This whole editing thing is new to me so, be ware and turn down the volume on your computer! I hope you enjoy my second published video, comments are always welcome. Till next time... Tight lines To view the latest video click HERE  The end of May / beginning of June is a great time of year for us here in northern Delaware. Our Trout rivers are fishing well with bugs coming off regularly and our Smallmouth season is just getting started. About a week ago I was talking to my buddy "One Boot" Ed; "Have you seen the pictures Schultzy has been putting up"! He is, of course, talking about Schultz Outfitters Located in Ypsilanti Michigan and the great Smallmouth pictures they have been posting on their Facebook Page. A couple of days later I was texting another buddy of mine, Sean, and he said basically the same thing. "You see the fish the boys in Michigan are putting up" Now we usually don't start Smallie fishing until the middle or end of June, certainly never in May, we are usually still busy chasing Trout. Well, I have been watching an indicator drift down river since last November, and with exception of the few Shad from this year it has been basically all Trout for me, I was ready for a change. Also, you need the I.Q. just a little higher than that of a rock to realize if they were catching Bass in Michigan, we should be able to catch them here. Now, If you are going to fish for early season Smallmouth You should be aware of a few things. The fish may or may not have spawned yet. For this reason you should keep your casting toward the middle of the channel and keep off the gravel beds with your flies and your feet. We are only shooting ourselves in the foot for next year if we disturb the spawning habitat. It is also my opinion that you never cast to a fish actively tending a redd, again my opinion and I will leave it at that. On to the Double Dip...As mentioned we usually don't fish for Smallies until mid June. Beings we were going after them this early we had a chance to put into motion a plan I have been thinking about for a while. It just so happens one of our favorite new Smallmouth spots is directly on the way to one of our favorite old wild Brown Trout streams. Again, being just a little smarter than a rock we realized we could get up early, be on the Smallie water at first light, then move to the Trout river later in the day. If things go as planned this would be a great day of dual species fishing. The truck was loaded, the alarm was set and thoughts of Smallmouth and Trout were in my head as I fell asleep. Ed and I met up and headed to the Smallmouth water. We decided we would fish poppers, and the Boogle Bug has been my popper of choice for the past few years. The Smallmouth fishing did not disappoint as we were fortunate enough to land several good fish capped off by a dark bronze back Ed pulled out from his lie behind a big boulder. This was the second time I was using my GoPro Hero 4 camera. I got some cool video and will have the edited versions on my You Tube Channel shortly. Here are some of the pics from the Smallmouth portion of the "Double Dip". We fished till about noon and decided it was time to go. Ed had to be home so I would have to finish the second half on my own. We geared down at the trucks, said out good buy's and Ed headed East toward home and I headed West toward the Trout. When I got to the spot the water looked clear and low, tough conditions for any fishing, let alone fishing for smart, crafty wild Browns. I tied up a Dry and Dropper rig and headed to my spot. Any worries of weather it was gonna be a good day were dispelled on the very first cast as this guy sucked down the indicator (A #16 Stimulator) and came to hand with the #16 Pheasant Tail stuck firmly in his jaw. Usually landing a fish on the first cast is the kiss of death for the rest of the day...not this time! I spent the rest of the afternoon working my way up the stream picking up a fish here and there and having a great time. The capper of the day was when a healthy 13" wild Brown decided to eat the Dry fly in an aggressive style sometimes indicative of wild fish. Here are some of the pictures from the Trout portion of the day. What a great day this was and one I won't soon forget. I hope the weather holds so I can get another one of these multi species days in this year. This is one of the best things about living where we live, the diversity of angling opportunities. I want to thank the guys at Schultz Outfitters for allowing me to use some of their pics for this post. If you are ever in the area check them out, you wont be disappointed. For a link to their site click here. To check out some pics of some great Smallmouth Bass check out the Schultz Outfitters Facebook page here. Till next time...
Tight lines |
Archives
May 2017
Categories
All
|
© COPYRIGHT 2016. ALL RIGHTS RESERVED.

