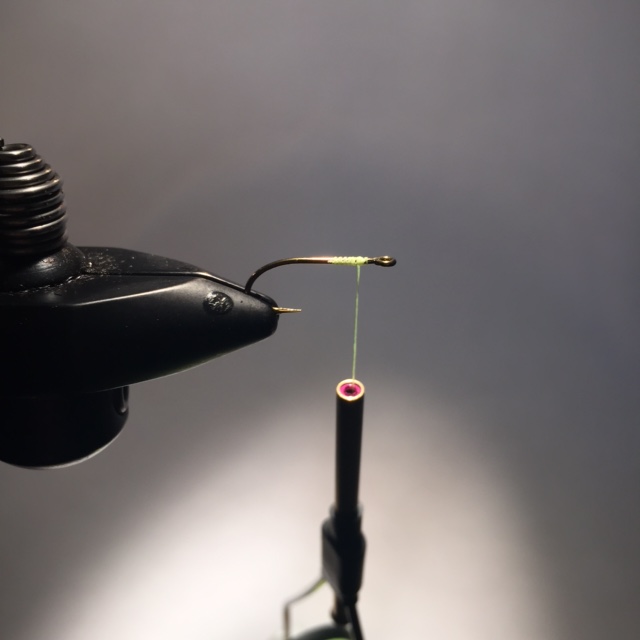
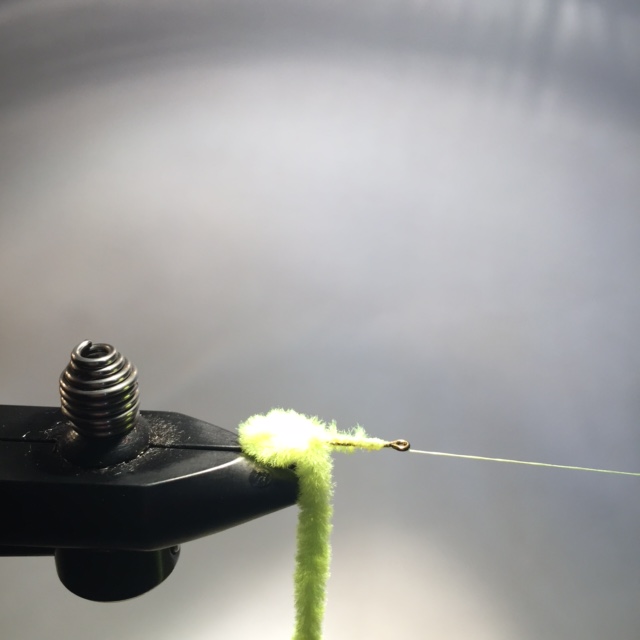
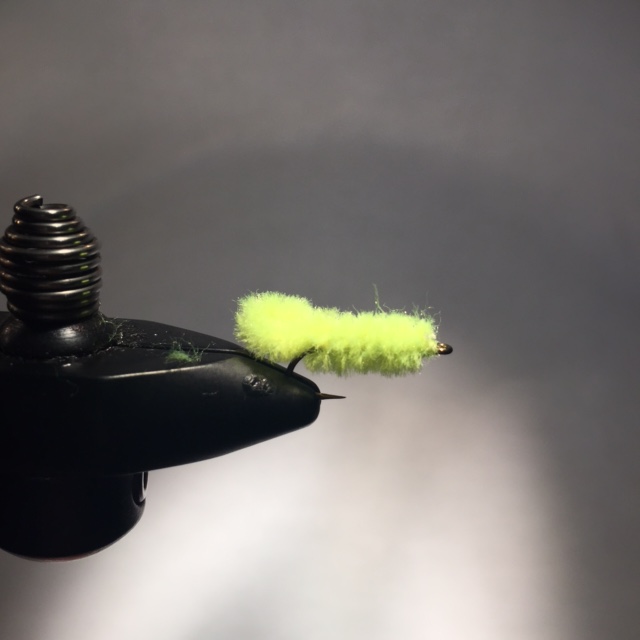
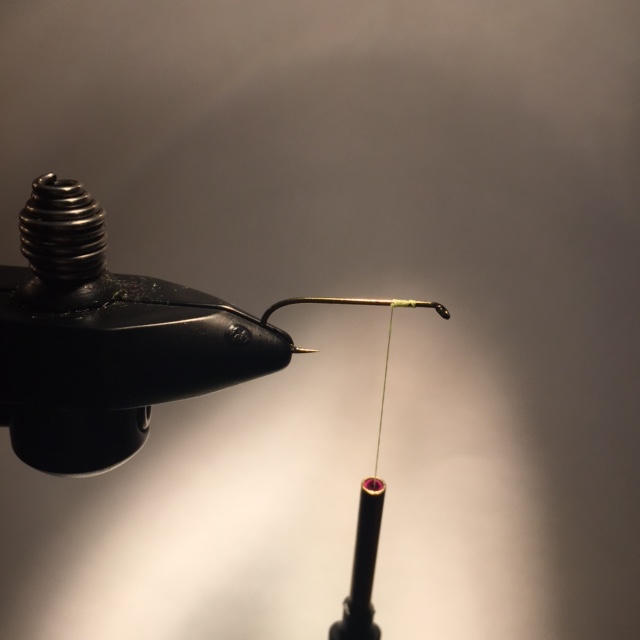
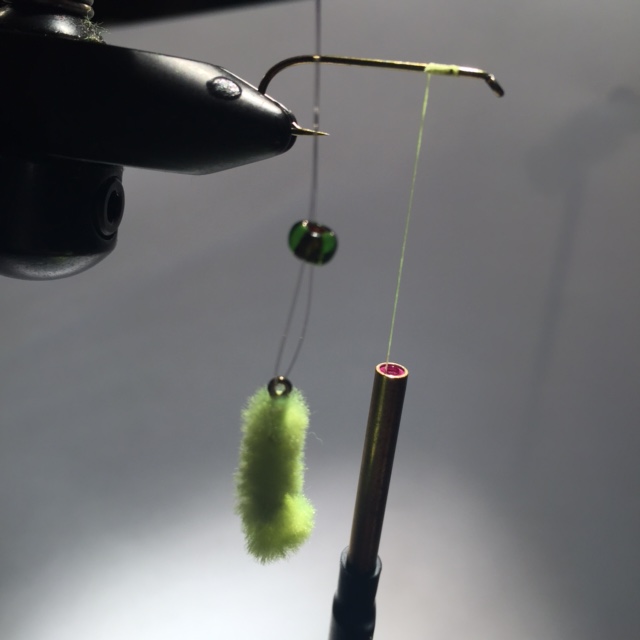
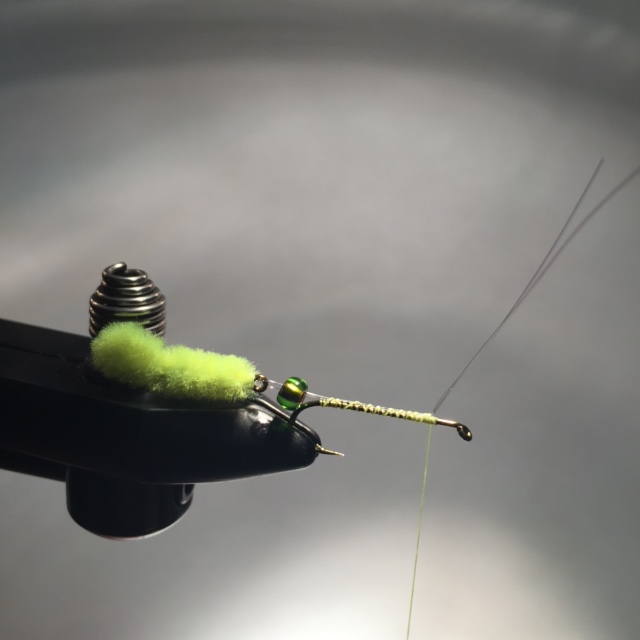
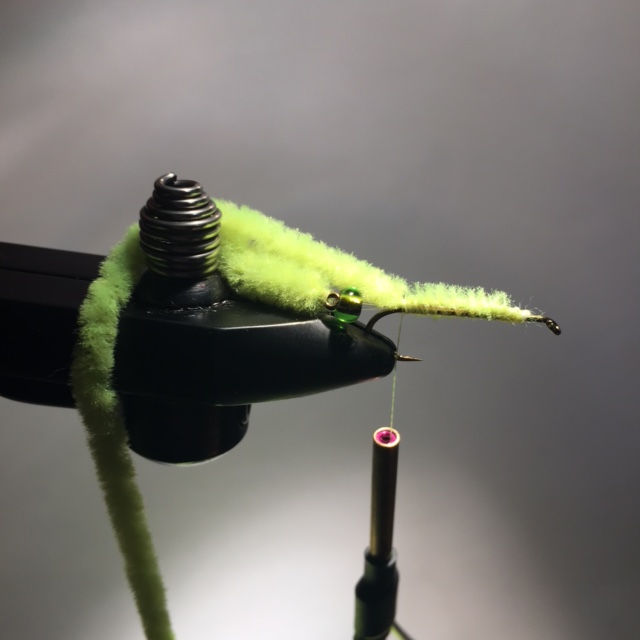
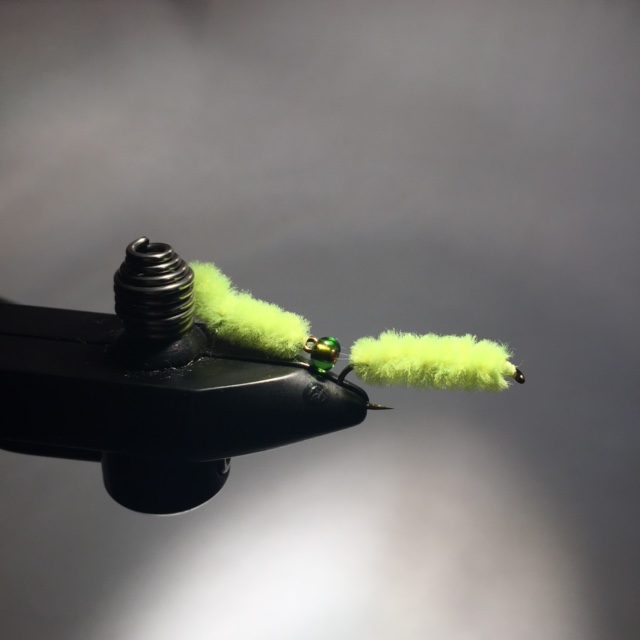
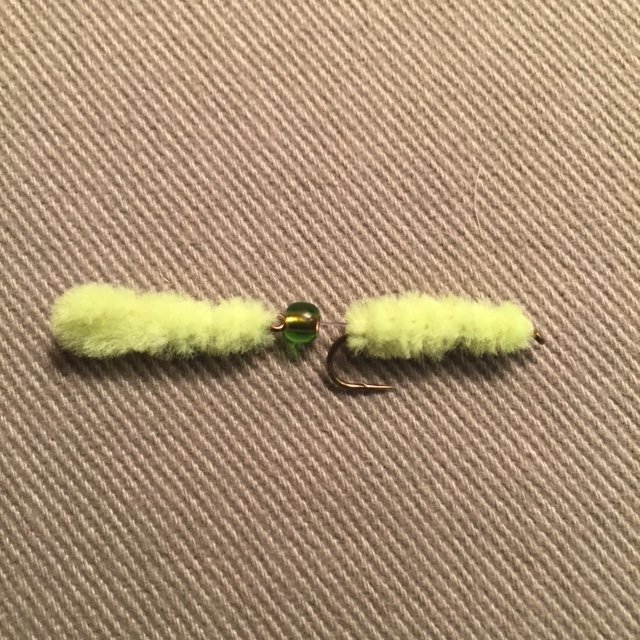
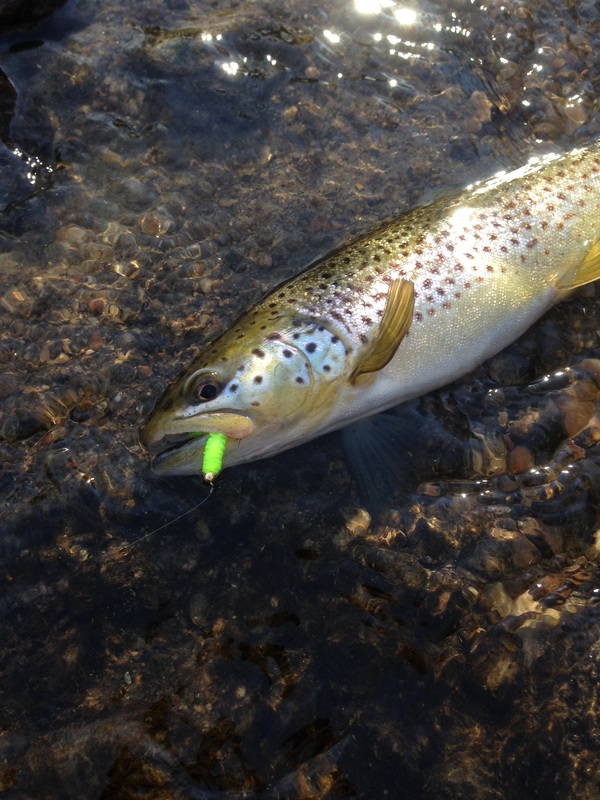
 Well, it has been a while since I have done a step-by-step. This is one of my newer patterns that has been getting some play on the internet lately. This fly was requested on my last 2 custom fly orders, so I figured it would be a good choice for this weeks blog post. The "Fractured Weenie" came to me one day as I was prepping for an event while I was still working at the fly shop. The theme was articulated flies and I was working my way through some patterns. Here is my account of the birth of the "Fractured Weenie" as I recount it on my signature fly page. I was in the shop one day having a discussion with one of the "regulars". Specifically, we were talking about the articulated flies and which patterns I would be tying for an up coming event we were having. At some point during the conversation I said something to the effect that you can basically articulated almost any fly. A little later one of our good friends, Craig came in with his son Matty. I got to thinking about my earlier statement about articulating any fly, I was already tying Green Weenies for the shop so I called Matty over to the vise. With his help (Matty rotated the vise as I fed the chenille up the hook) I tied the very first (that I know of) articulated Green Weenie. Tied completely as a joke at first, the more I looked at it the more I got to thinking this thing might actually work! The Fractured Weenie has proven itself on the Trout river as well as on Hickory shad. The more I think about the more I realize this "joke" fly actually has some merit and can be an extremely effective pattern. Basically resembling the paddle tail grub we all have caught fish on during our tackle days, the "Fractured Weenie" can be tied in a wide range of sizes and colors. At home in fresh water as well as in the salt, this fly has proven itself every time I have used it. Check it out and tie up a few for yourself, you will soon realize the "joke" is on the fish, not you! Thread ; 6/0 UNI Thread, color to match body Rear Hook ; any cheap hook with a straight eye (you are going to cut the hook off anyway) Front Hook ; TMC 5262 size to match (if you are going into the salt use a TMC 811s) Body ; Medium Chenille, color of choice (if tying for the salt use large or X large) Bead ; 6/0 glass color to match body (if tying for salt water use an appropriate size bead) Connection Wire ; 4X tippet matl (if tying for salt water use 19 strand Beadalon) Place the "sacrificial" hook in the vise and jam your thread on behind the eye. Tie the chenille in at the eye and wrap back the the barb of the hook. I tie in at the eye and wrap back to add a little bulk into the pattern. Double over the chenille to form a small loop coming off the back of the hook, this gives the fly the paddle tail action. Lay down a bed of Flex Cement and palmer the chenille up the hook shank to the eye of the hook. Tie off, build a neat head, whip finish and cut your thread. Carefully coat the thread wraps on the head with Head Cement. Place the front hook in the vise and jam the thread on at the hook eye and wrap back to the barb of the hook. Here you can see the "tail" of the fly has been prepped. The hook point has been cut off, a snort piece of the 4X tippet matl. has been threaded through the hook eye and the bead has been placed on the connection. This picture shows proper placement of the "tail" of the fly in relationship to the front hook. It must be far enough back so it can move freely, but not too far that the bead prevents the rear of the fly from fouling on the front. Once the spacing has been determined, wrap the thread up to the 3/4 point of the shank. Fold both sides of the connection back over themselves and wrap the thread back to the tie in point. At this point a dab of Zap-A-Gap is a good idea. After applying the glue make several series of thread wraps back to front, then front to back and totally cover up the connection with tight thread wraps. Finish with the thread at the hook eye, tie in the chenille and wrap back to the tie in point. Again, tying the chenille at the hook eye and wrapping back helps to build some bulk into the pattern. Lay down a bed of Flex Cement and palmer the chenille up the hook shank to the eye of the hook. Tie off, build a neat head, whip finish and cut your thread. Carefully coat the thread wraps on the head with Head Cement. On the front hook there is no need for the tail loop we put in the rear hook. Here is the finished fly. You can add a bead on the front if you like. Fish it like streamer, swing it, or dead drift it like a nymph. Presentations, like the fly, are limited only by your imagination. Till next time...
Tight lines
0 Comments
|
Archives
May 2017
Categories
All
|
© COPYRIGHT 2016. ALL RIGHTS RESERVED.

